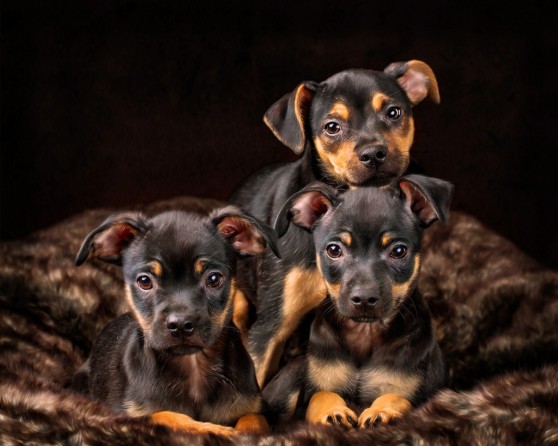
Following the theme of social media, I have taken inspiration from some of my most frequently shared themes, which is animals (predominantly dogs). My fifth shoot is inspired by Abby Malone, and her studio pet portraits.
This relates to the ‘self’ brief, as social media is often used as a happy outlet and creative space, therefore the things we post and share are heavily related to our personalities, thoughts and feelings.
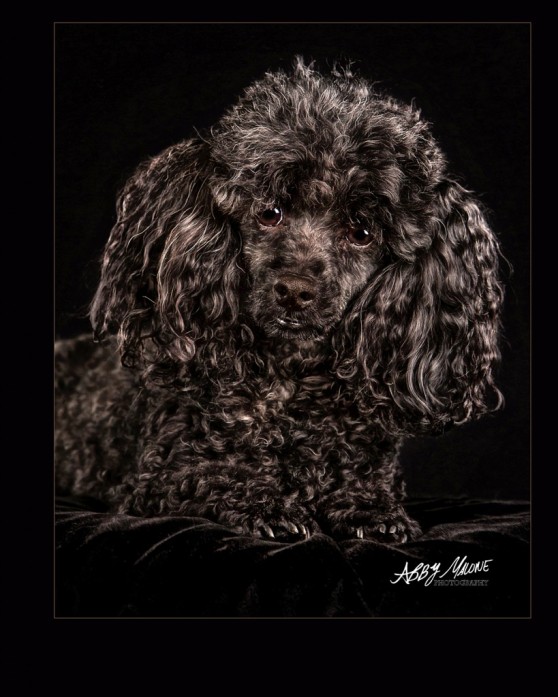
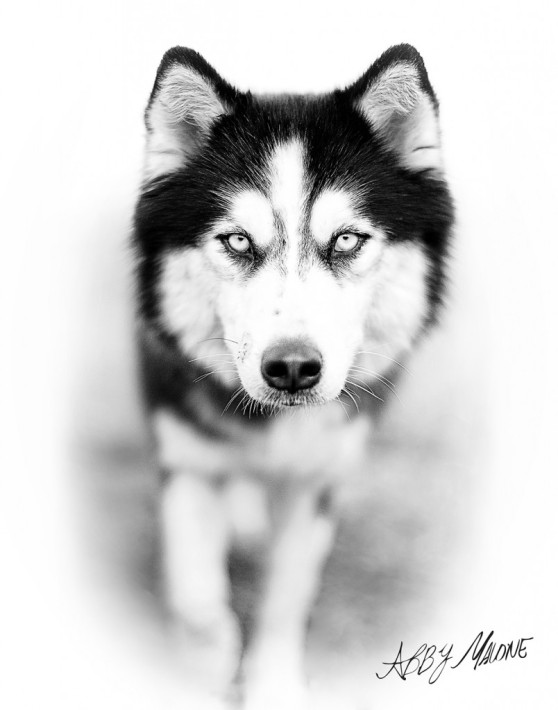
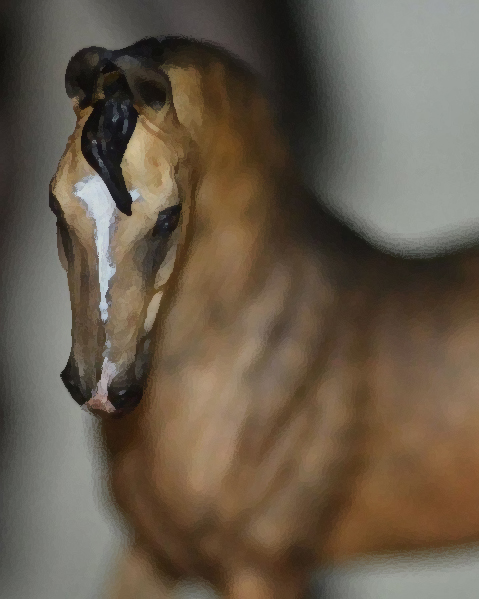
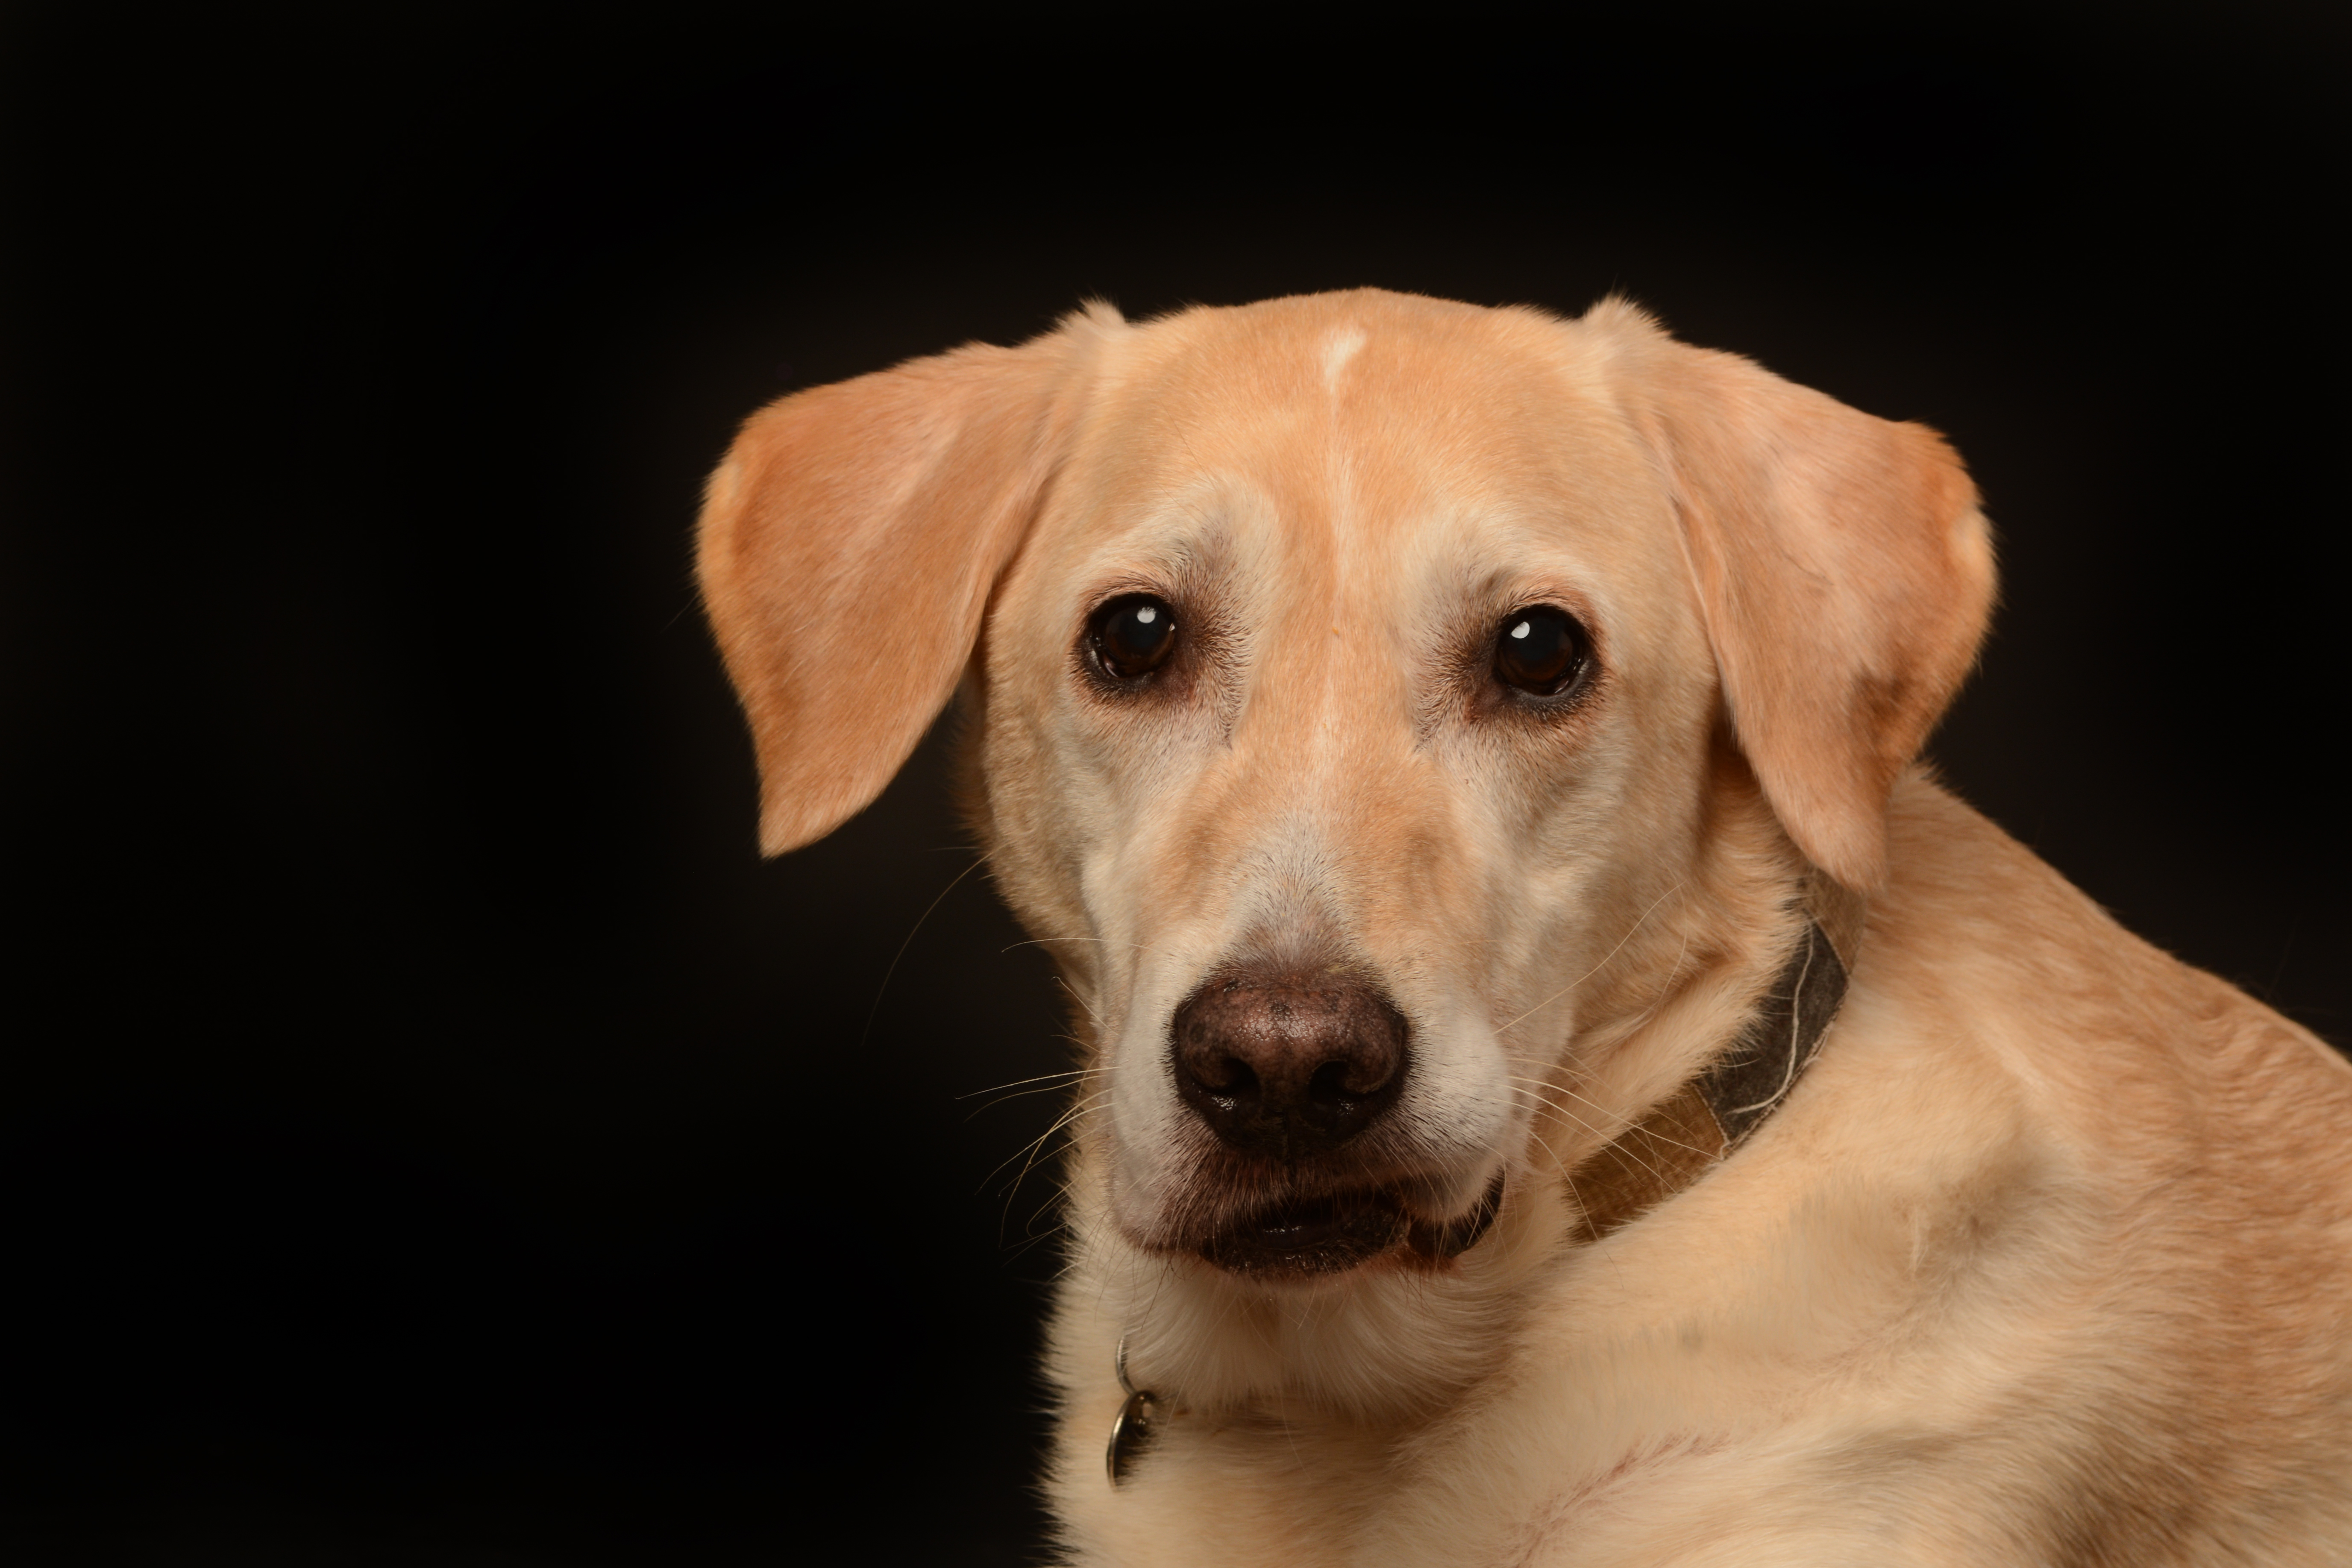
Malone’s work is typically shot in a studio, predominantly with a dark background, whereby the hues and tones of the animals stand out. I will be shooting with this in mind, photographing a light coloured dog against a black backdrop. Using Photoshop, I will refine this to create a stark black background, allowing the sharpness of the dog to stand out.


For this shoot I will be using my Nikon D7100 and my macro 105mm lens, shooting in the studio with artificial light. Alternative props, such as dog toys, may be used, as well as dog treats, including designated treats and peanut butter.

Photographer Unknown

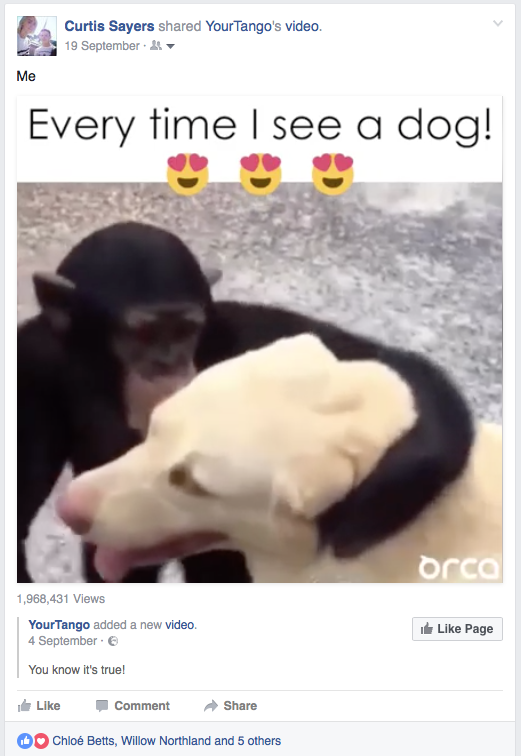
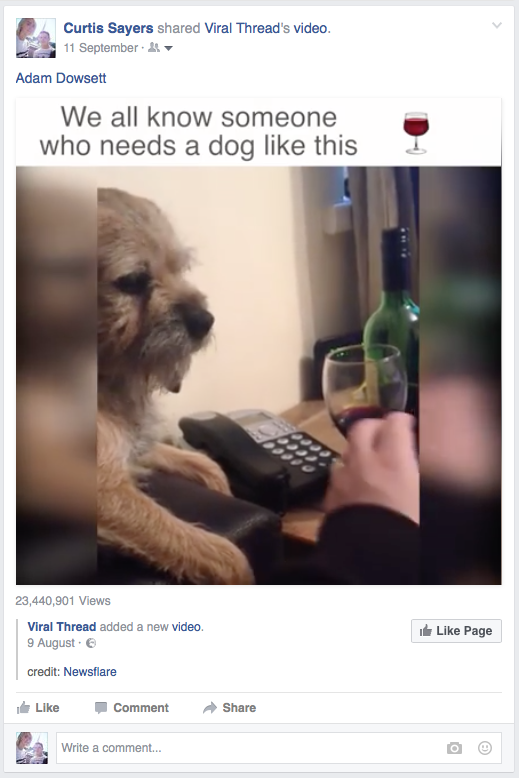
Social Media References


Outcomes
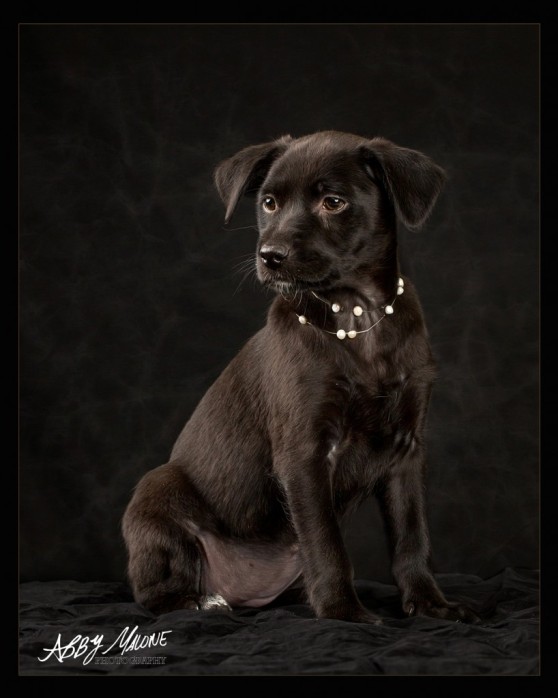
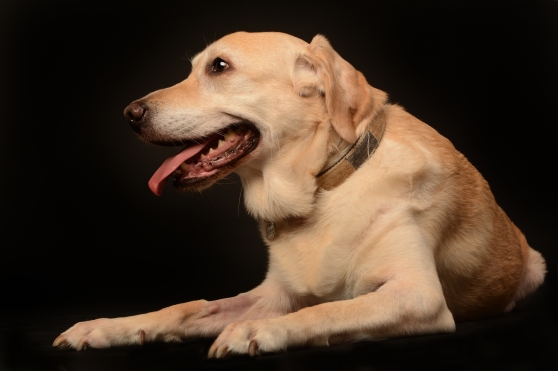
During this shoot I was able to experience working with an animal in the studio, which initially posed issues, since my model was fearful of the studio backdrop. However, after an extensive period of time exploring, he became more comfortable when accompanied on the paper.

I shot using a shutter speed of 1/125 in order to synchronise my camera with the studio soft boxes. This created sharp outcomes that were, with experimentation, well lit.


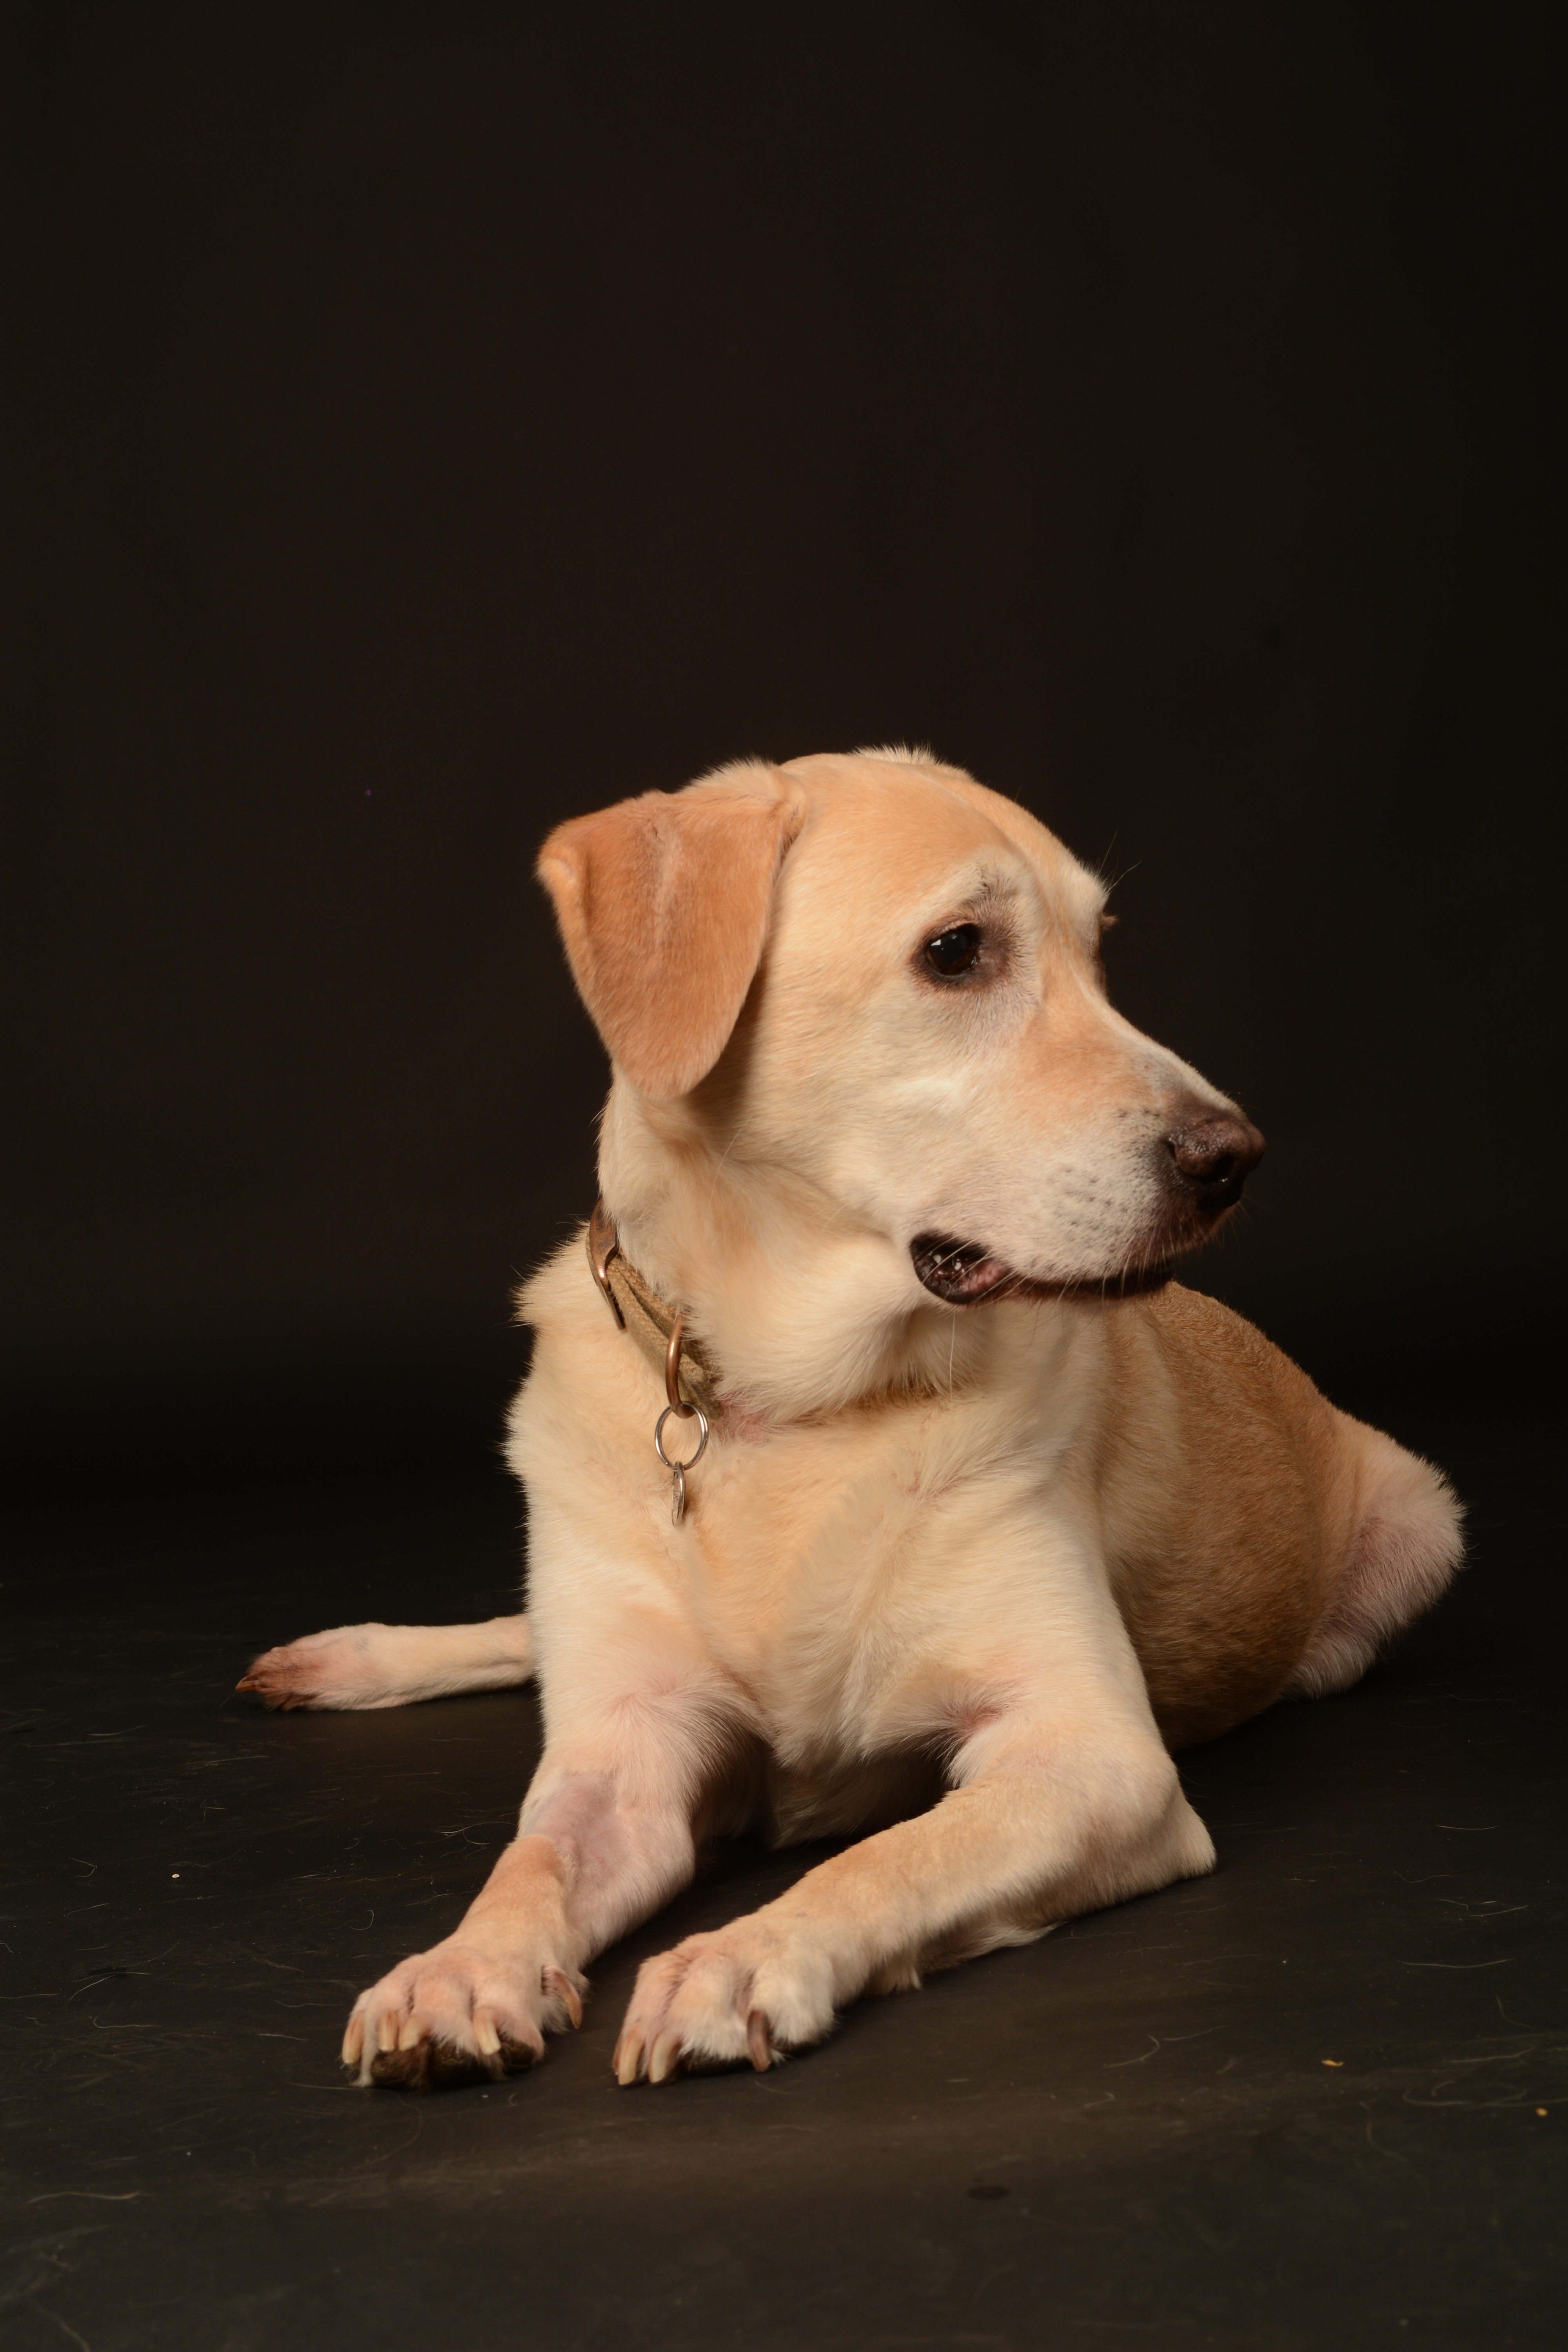
I feel that this shoot successfully incorporated relevance to my project of Self, featuring ties to my social media which portrayed my love of dogs, as well as linking to my inspiration photographer, Abby Malone, and her pet portrait photography. While the outcomes were shot with professional pet portraits in mind, the commonality of the dog between these shots and my social media references is enough to relate this to my social media.


I used Photoshop to enhance the background, using the clone and burn tools, creating a monotonous black backdrop that allowed my model to stand out further. This was effective both in colour and in grayscale, since the bold colours within my model were strengthened, and the tonal differences in the greyscale variation were also impacted in a positive way. In both shots, my model appears to melt into his backdrop, rather than being imposed upon it, which was an effect I was happy to have achieved.

As a development of my Photoshop skills, I corrected the reflective shape in Harvey’s eyes, in order to make the light appear more natural. I used the marquee tool to mark the shape I was aiming to create, and cloned the original reflection colour to apply around the initial reflection until I was happy with the result. This was feathered (‘Select’, ‘Modify’, ‘Feather’) to offer a natural edge, and enhanced using levels before deselecting the shape.
-

- Original Outcome
-
- Edited Outcome
-

- Reflection

I found that my outcomes were most effective with the excess space left on the image. However, some careful straightening and cropping was applied to balance my photos.
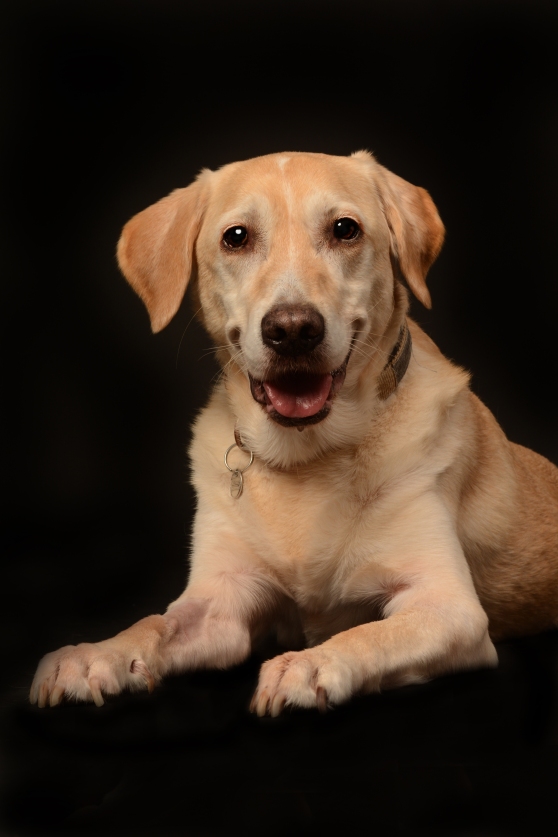
My most effective outcomes were the larger portraits, which incorporated at least the front paws but ideally captured the whole body. These photos appeared to have more personality, and added perspective to my work.
This shoot was successful in relation to meeting my project brief with reference to my concept of social media. Furthermore, my outcomes were of a good quality and I feel I was able to capture the spirit of the pet within my photographs, as is important when photographing beloved pets.